

3 Clever Kitchen Gadgets Worth Checking Out
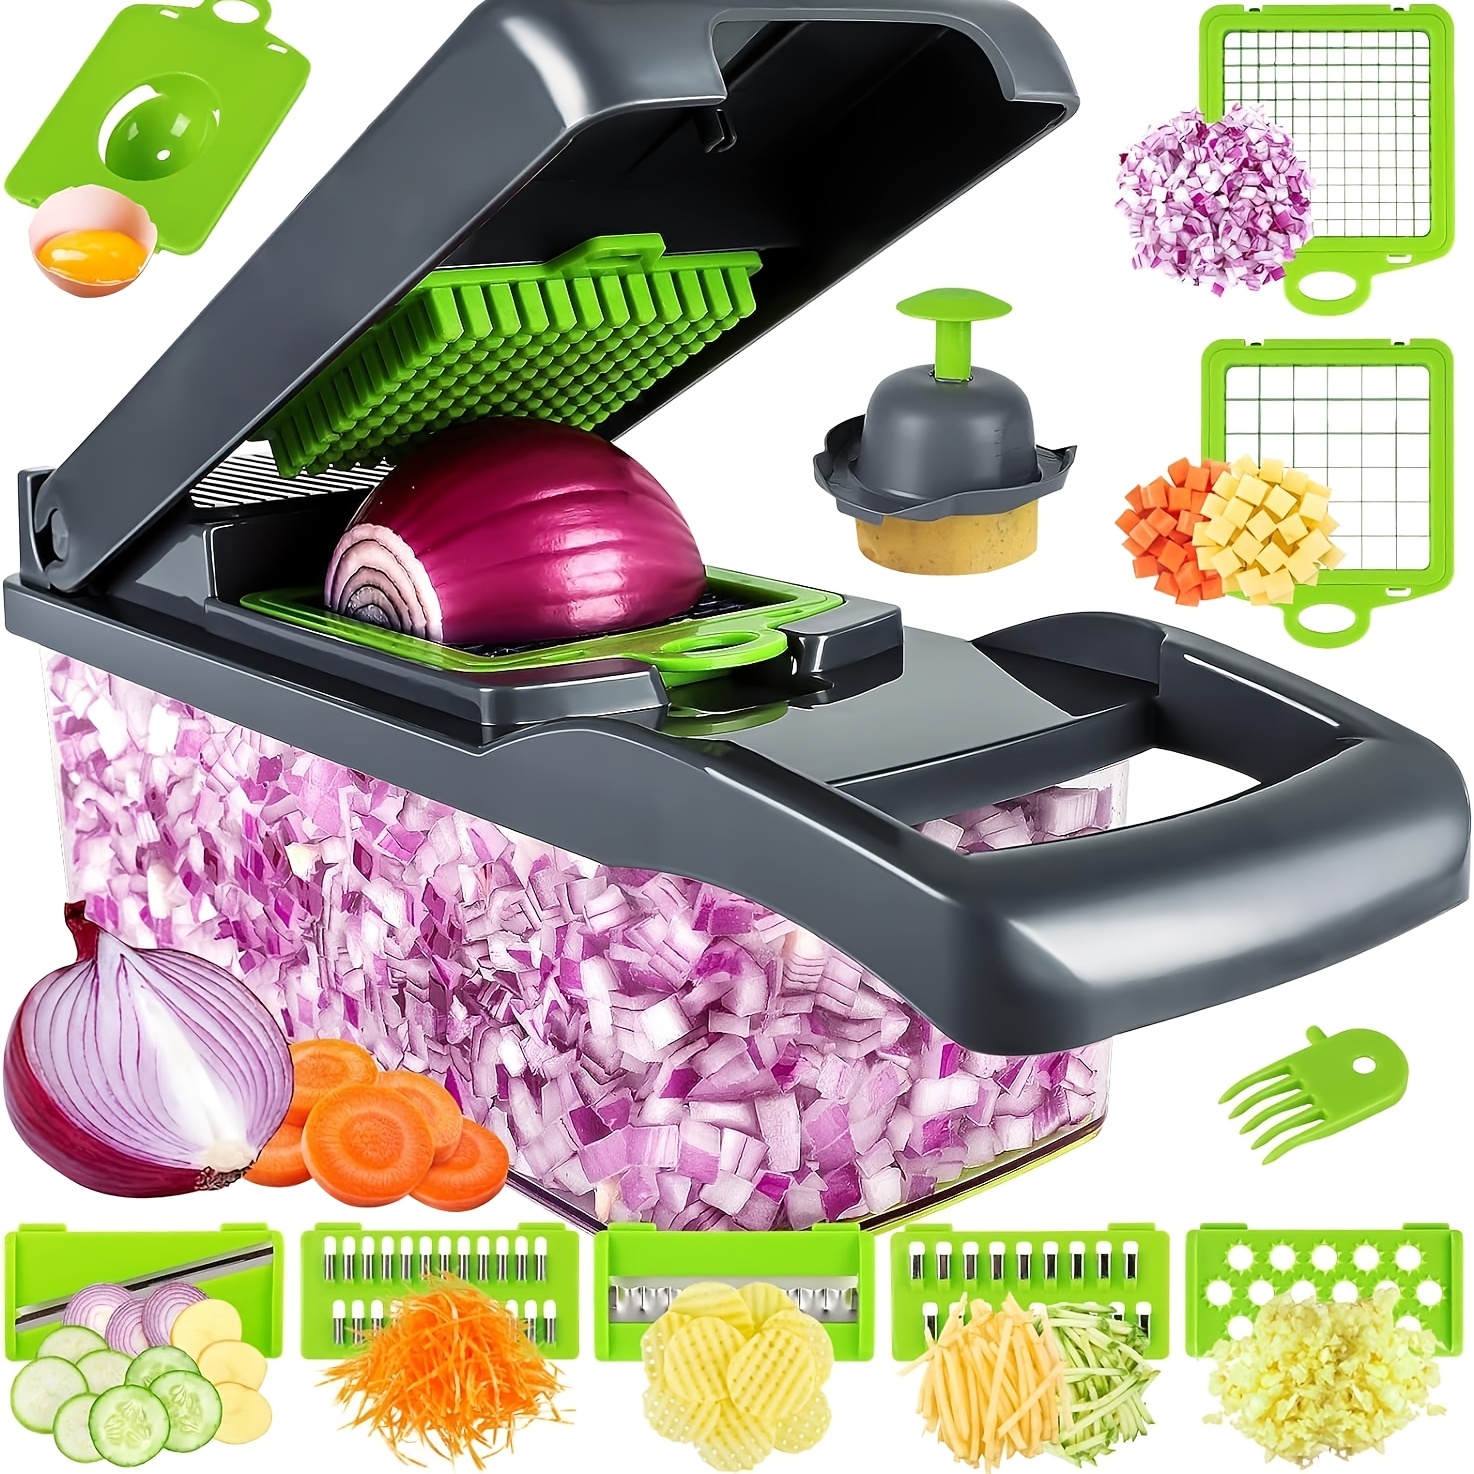
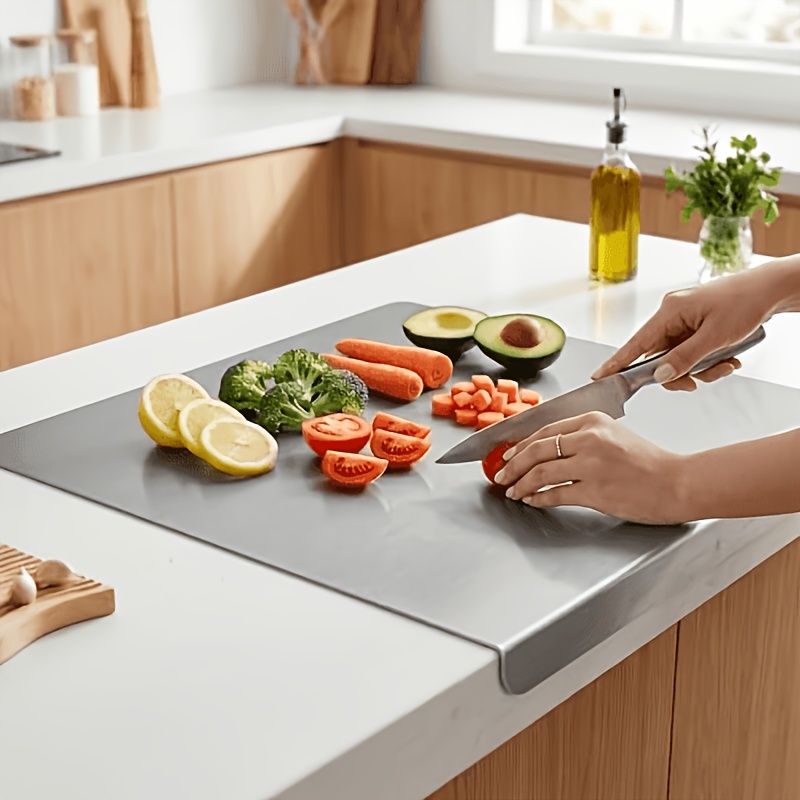
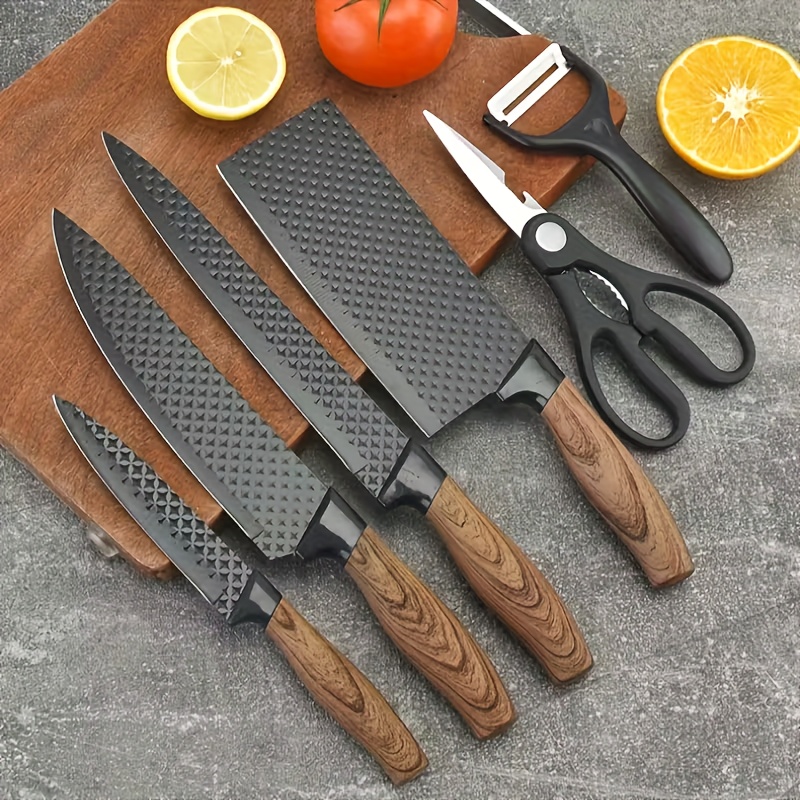
These handy little gadgets make cooking easier — and they're actually pretty cool.


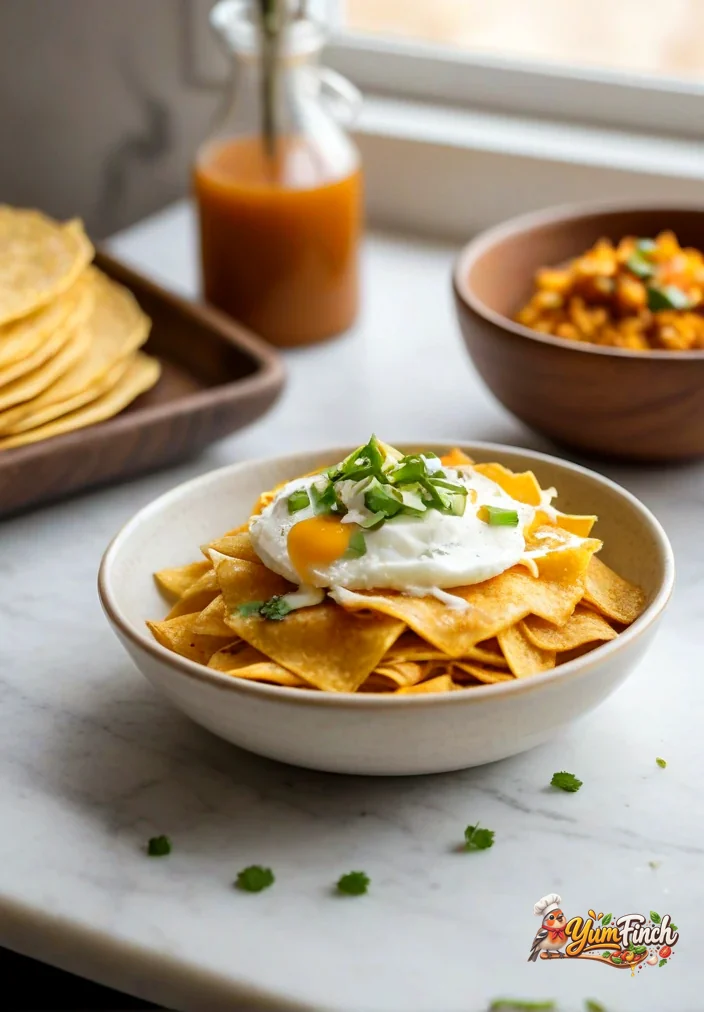
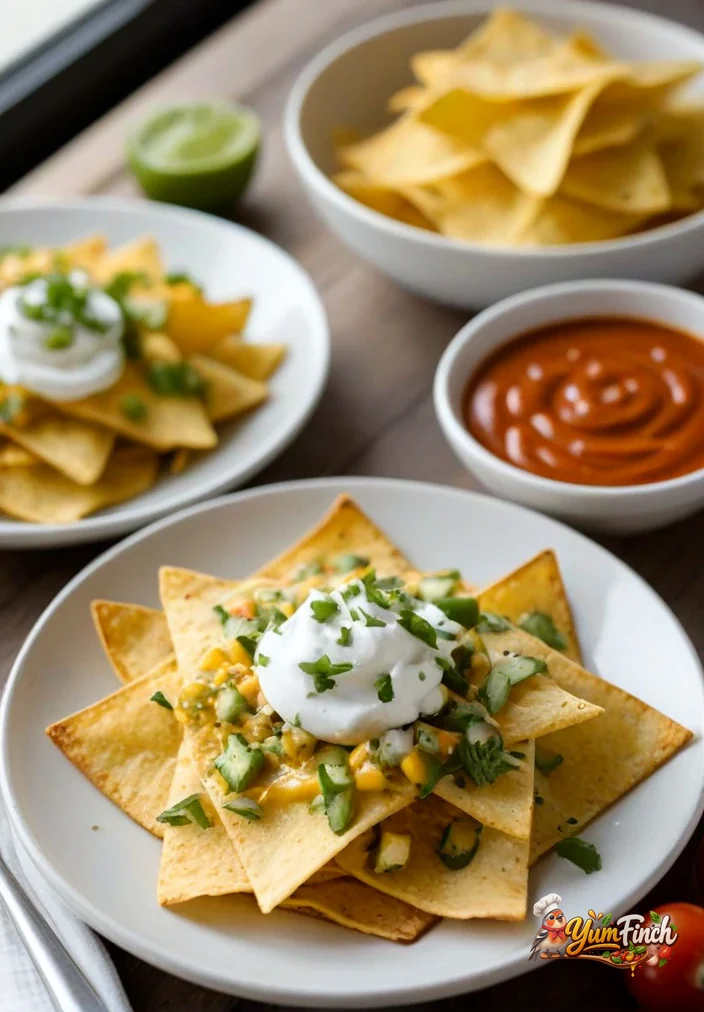
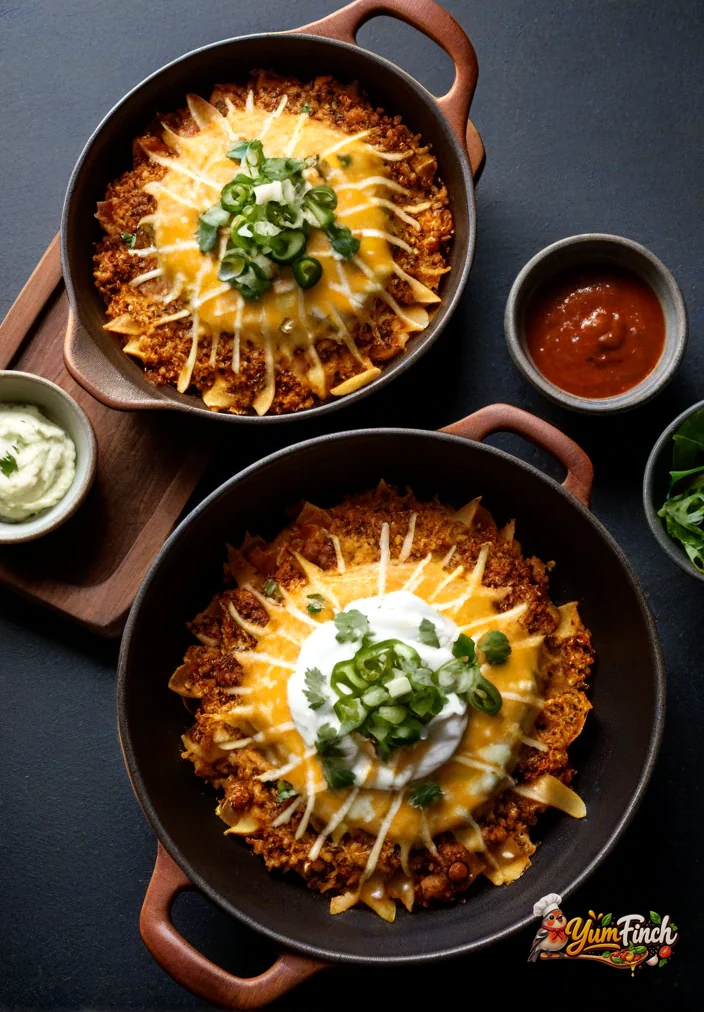
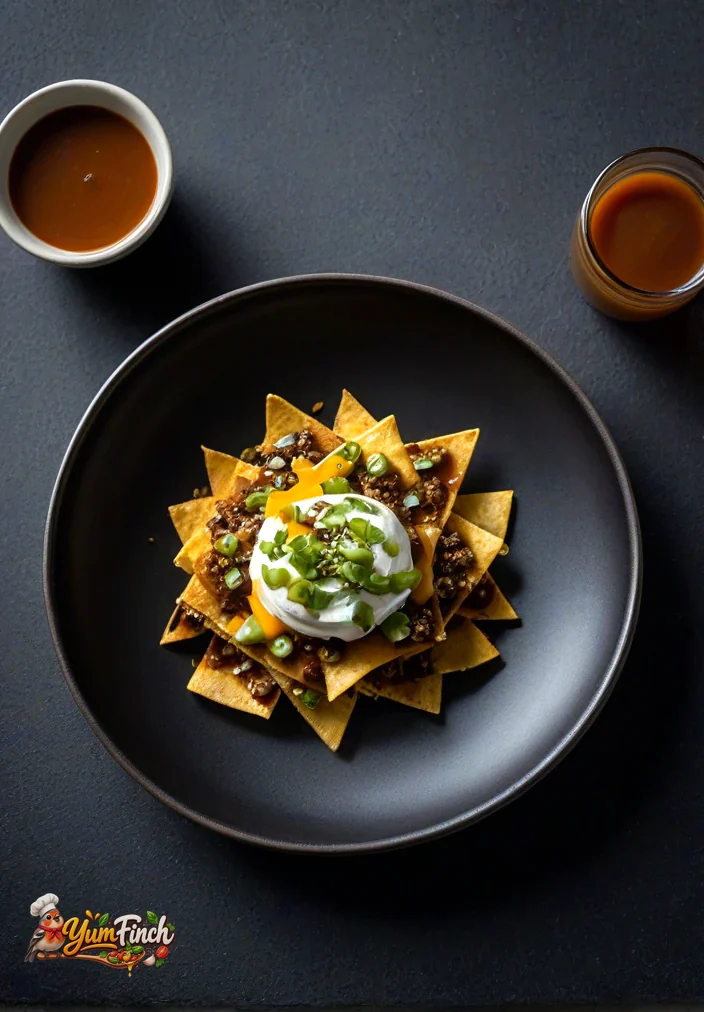
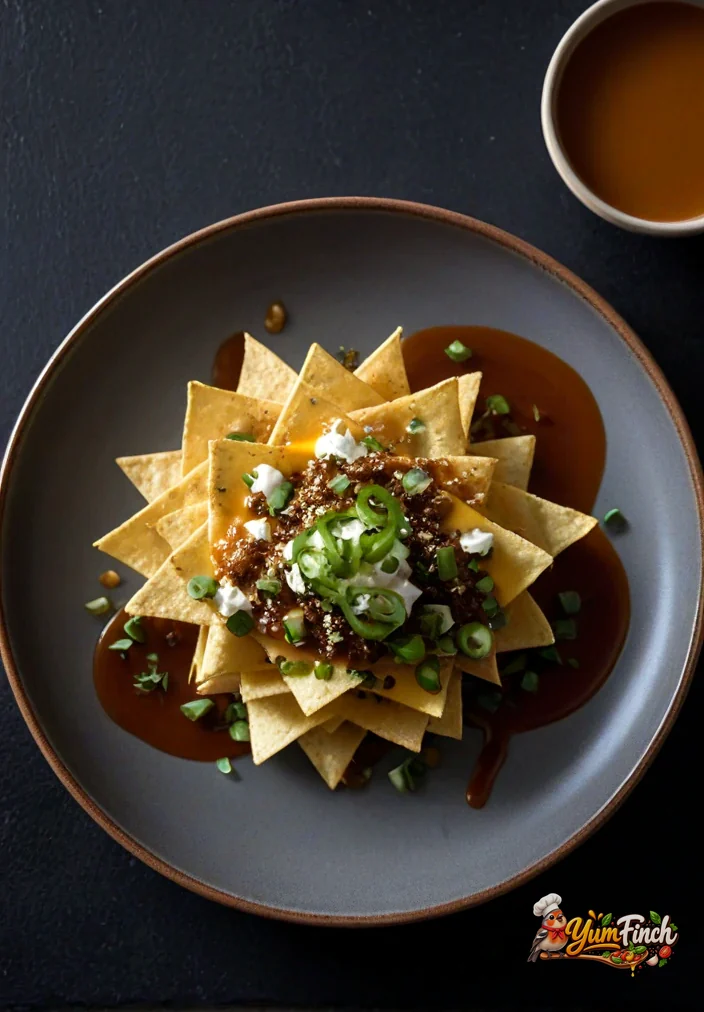
Loaded nachos are the perfect party snack or game day treat that everyone will love. With layers of crunchy tortilla chips, gooey cheddar cheese, fresh green onions, and a drizzle of savory sauce, these nachos are not only visually appealing but also satisfyingly delicious. Whether you’re hosting friends or just looking for a fun snack, this easy loaded nachos recipe is sure to please.
Why You’ll Love This Recipe
This loaded nachos recipe is a crowd-pleaser that combines crunchy, cheesy, and savory elements in every bite. It’s quick to prepare, customizable, and great for sharing.
- Quick and easy: Perfect for last-minute gatherings.
- Customizable: Add your favorite toppings to make it your own.
- Deliciously satisfying: The combination of flavors is irresistible.
- Perfect for sharing: Great for parties, movie nights, or casual get-togethers.
Ingredients
- 10 ounces tortilla chips
- 2 cups shredded cheddar cheese
- 1 cup sour cream
- 1 cup salsa
- 4 green onions, sliced
- 1 teaspoon olive oil
- 1 teaspoon ground cumin
- 1 teaspoon chili powder
- Salt and pepper to taste
How to Make Loaded Nachos
- Preheat your oven to 350°F (175°C).
- Spread the tortilla chips evenly on a large baking sheet lined with parchment paper.
- In a small bowl, mix the olive oil, ground cumin, chili powder, salt, and pepper. Drizzle this mixture over the tortilla chips for added flavor.
- Sprinkle the shredded cheddar cheese generously over the chips, ensuring even coverage.
- Bake the nachos in the preheated oven for 10-12 minutes, or until the cheese is melted and bubbly.
- Remove the nachos from the oven and let them cool slightly. Top with sliced green onions.
- Serve hot with sour cream and salsa on the side for dipping.
Tips for the Best Results
Love Trying New Recipes? Check These Out
Save your favorites, discover something different, or make meal planning a whole lot easier.


To make your loaded nachos even better, consider the following tips:
- Use a mix of cheeses for added flavor, such as Monterey Jack or pepper jack.
- For extra crunch, add sliced jalapeños or black olives before baking.
- Layer the chips and cheese for a more satisfying melt.
- Keep an eye on the nachos while baking to prevent burning.
Easy Variations
Feel free to mix things up with these variations:
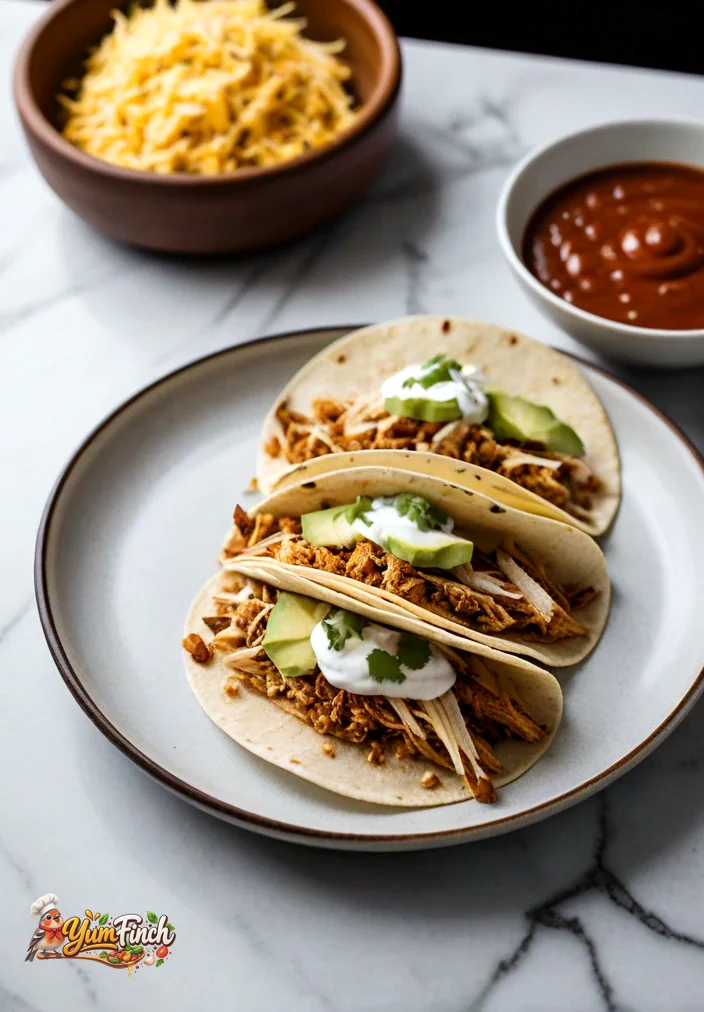
- Add cooked ground beef or shredded chicken for a heartier option.
- Incorporate black beans or corn for added texture and flavor.
- Top with fresh avocado or guacamole for a creamy twist.
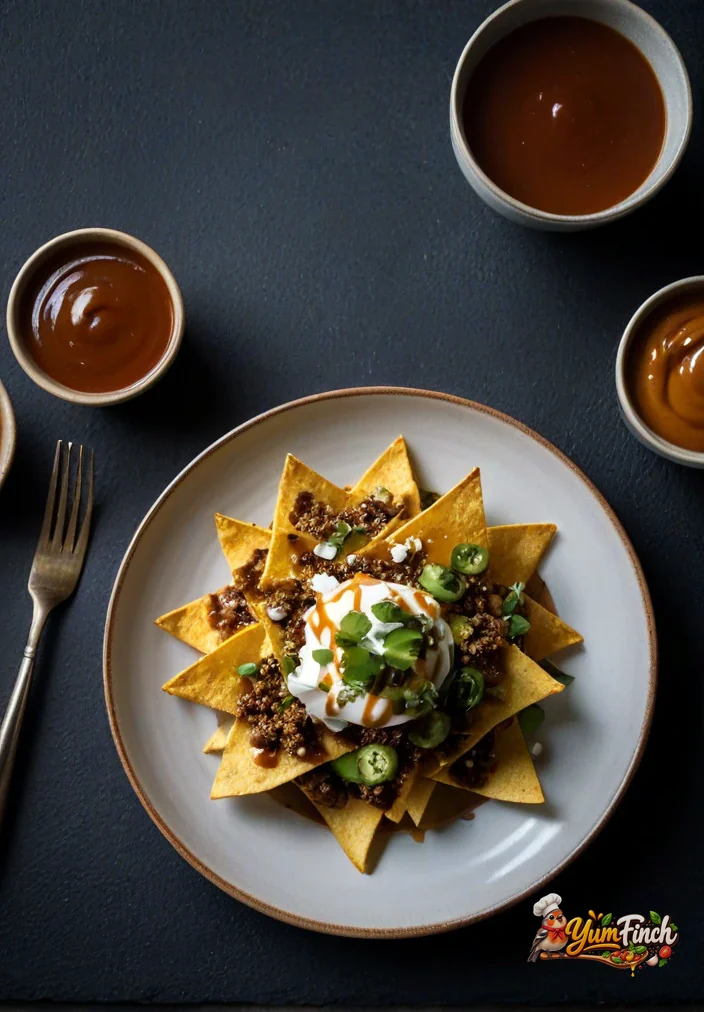
- Use different sauces, such as BBQ or hot sauce, for a unique flavor profile.
What to Serve With It
Pair your loaded nachos with these delicious options:
- Fresh guacamole
- Spicy salsa
- Chilled beer or margaritas
- Mixed green salad
Storage and Reheating
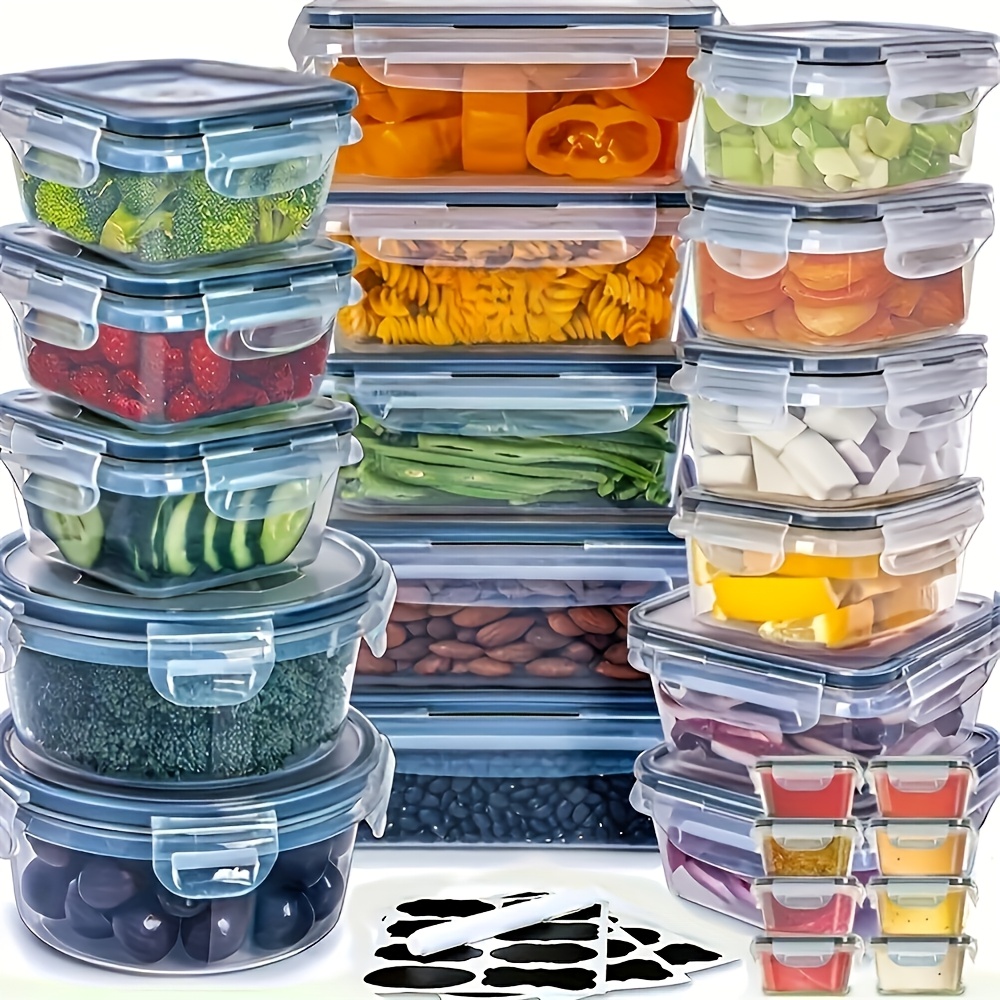
Leftover nachos can be stored in an airtight container in the refrigerator for up to 2 days. To reheat, spread them on a baking sheet and warm in a 350°F (175°C) oven for about 5-7 minutes, until heated through. Keep in mind that the chips may lose some crispiness upon reheating.
Recipe Card
Prep Time: 10 minutes
Cook Time: 12 minutes
Total Time: 22 minutes
Yield/Servings: 4 servings
Ingredients:
- 10 ounces tortilla chips
- 2 cups shredded cheddar cheese
- 1 cup sour cream
- 1 cup salsa
- 4 green onions, sliced
- 1 teaspoon olive oil
- 1 teaspoon ground cumin
- 1 teaspoon chili powder
- Salt and pepper to taste
Instructions:
- Preheat your oven to 350°F (175°C).
- Spread the tortilla chips evenly on a large baking sheet lined with parchment paper.
- In a small bowl, mix the olive oil, ground cumin, chili powder, salt, and pepper. Drizzle this mixture over the tortilla chips for added flavor.
- Sprinkle the shredded cheddar cheese generously over the chips, ensuring even coverage.
- Bake the nachos in the preheated oven for 10-12 minutes, or until the cheese is melted and bubbly.
- Remove the nachos from the oven and let them cool slightly. Top with sliced green onions.
- Serve hot with sour cream and salsa on the side for dipping.
Notes: Customize with your favorite toppings for a personal touch!