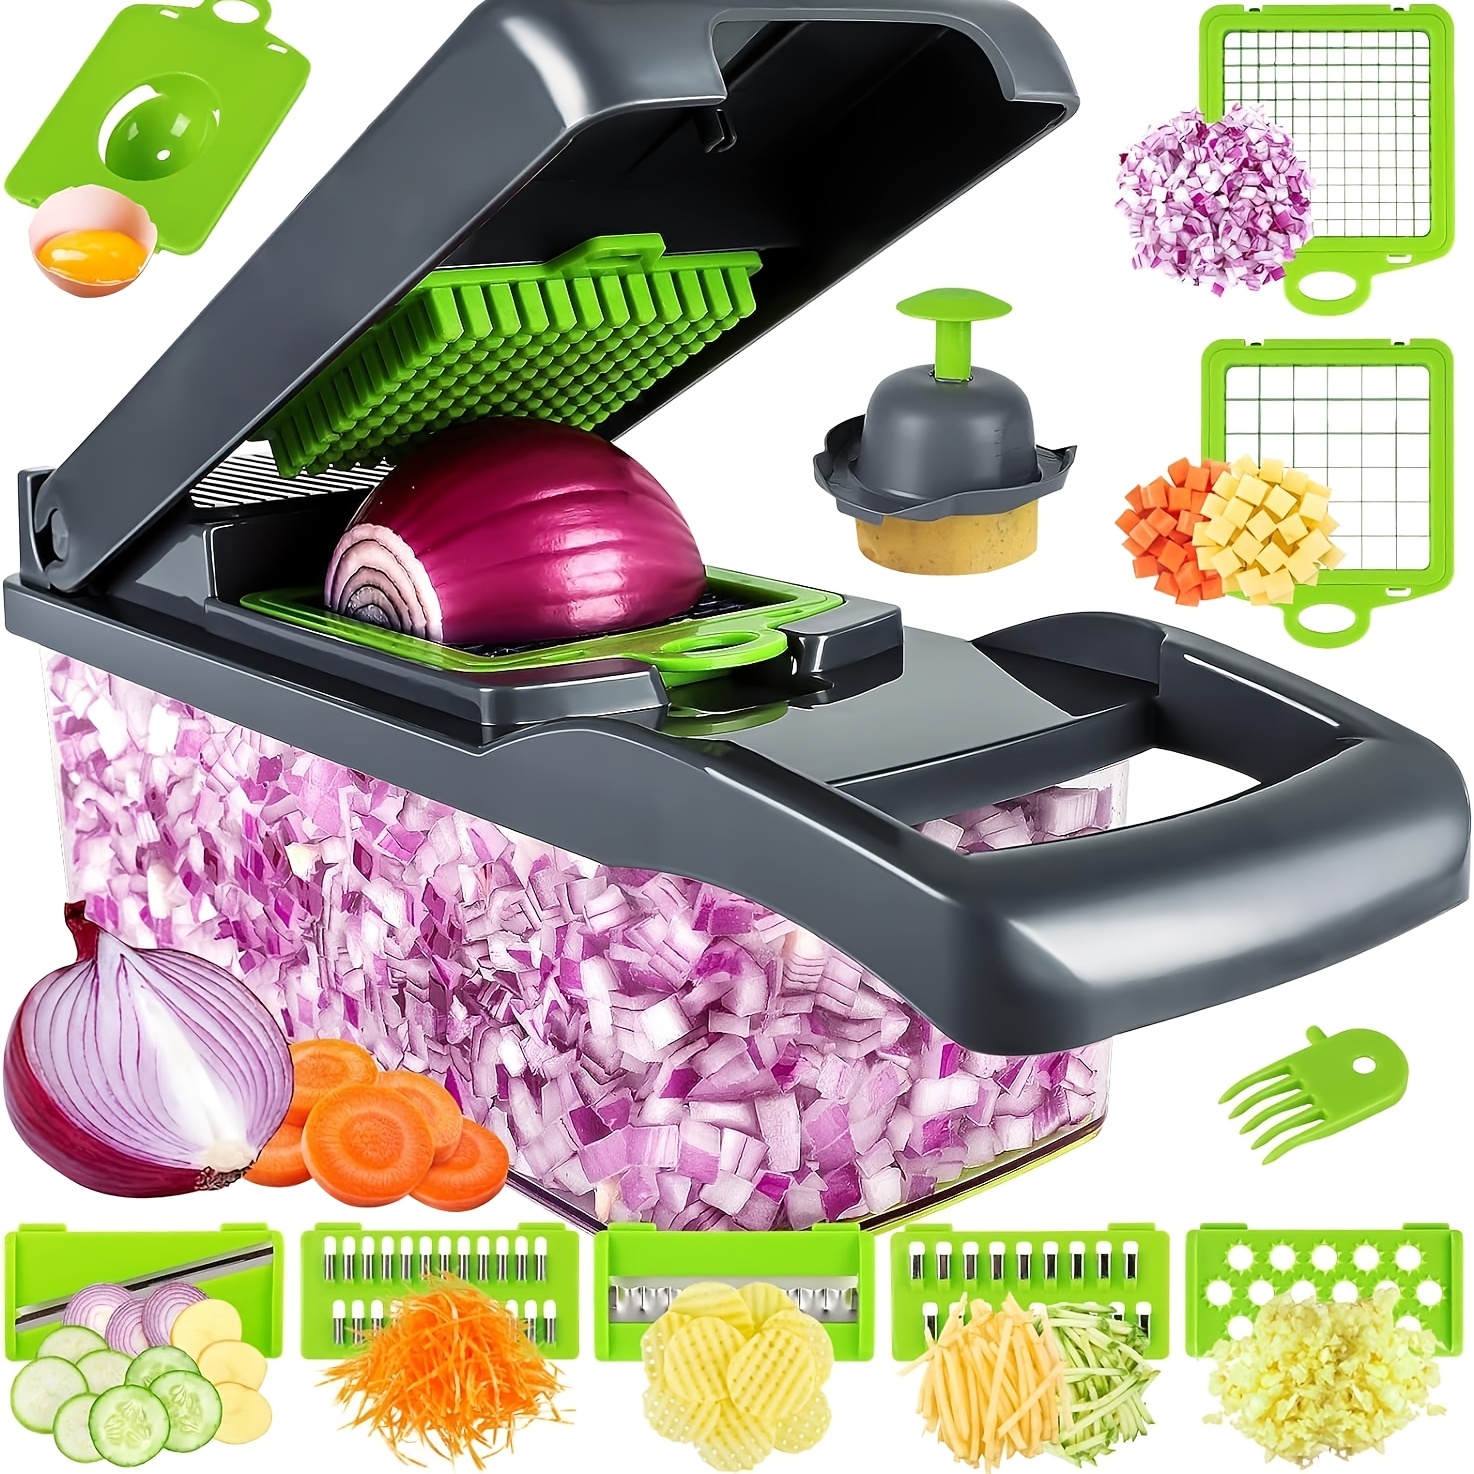



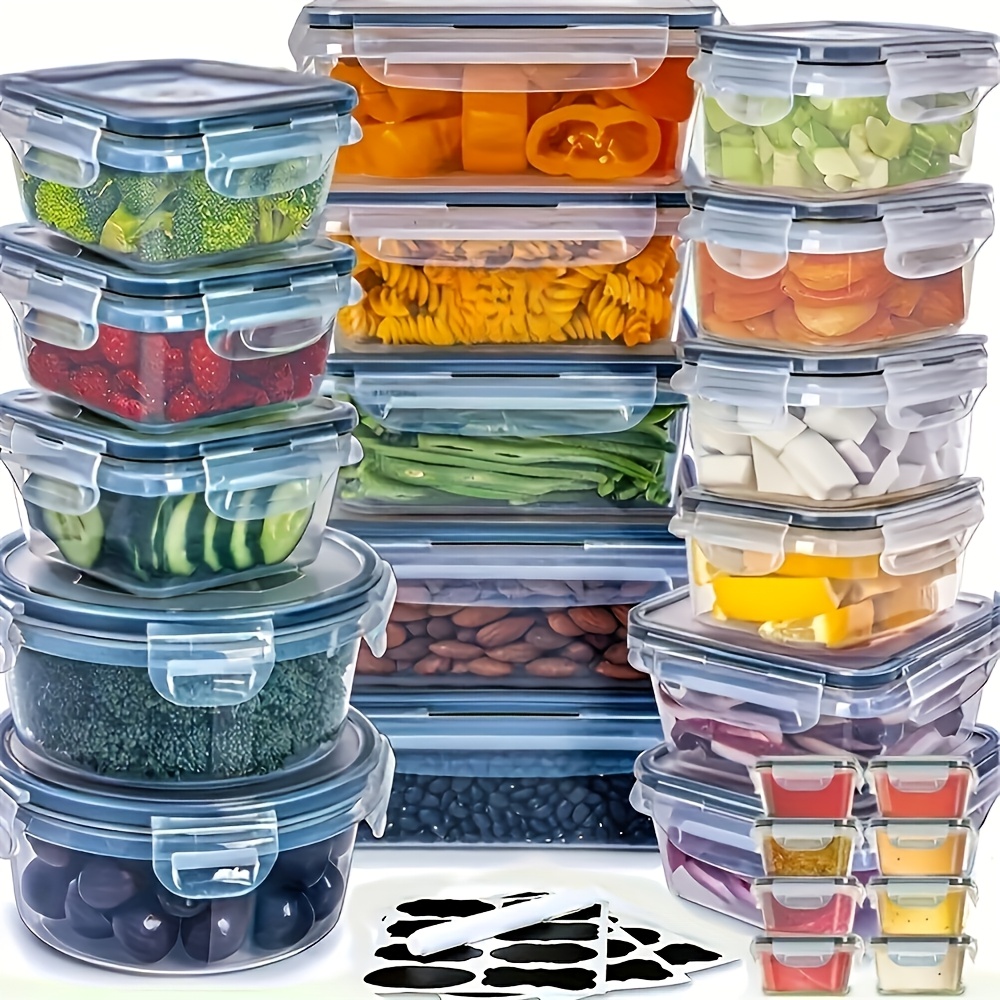
3 Clever Kitchen Gadgets Worth Checking Out
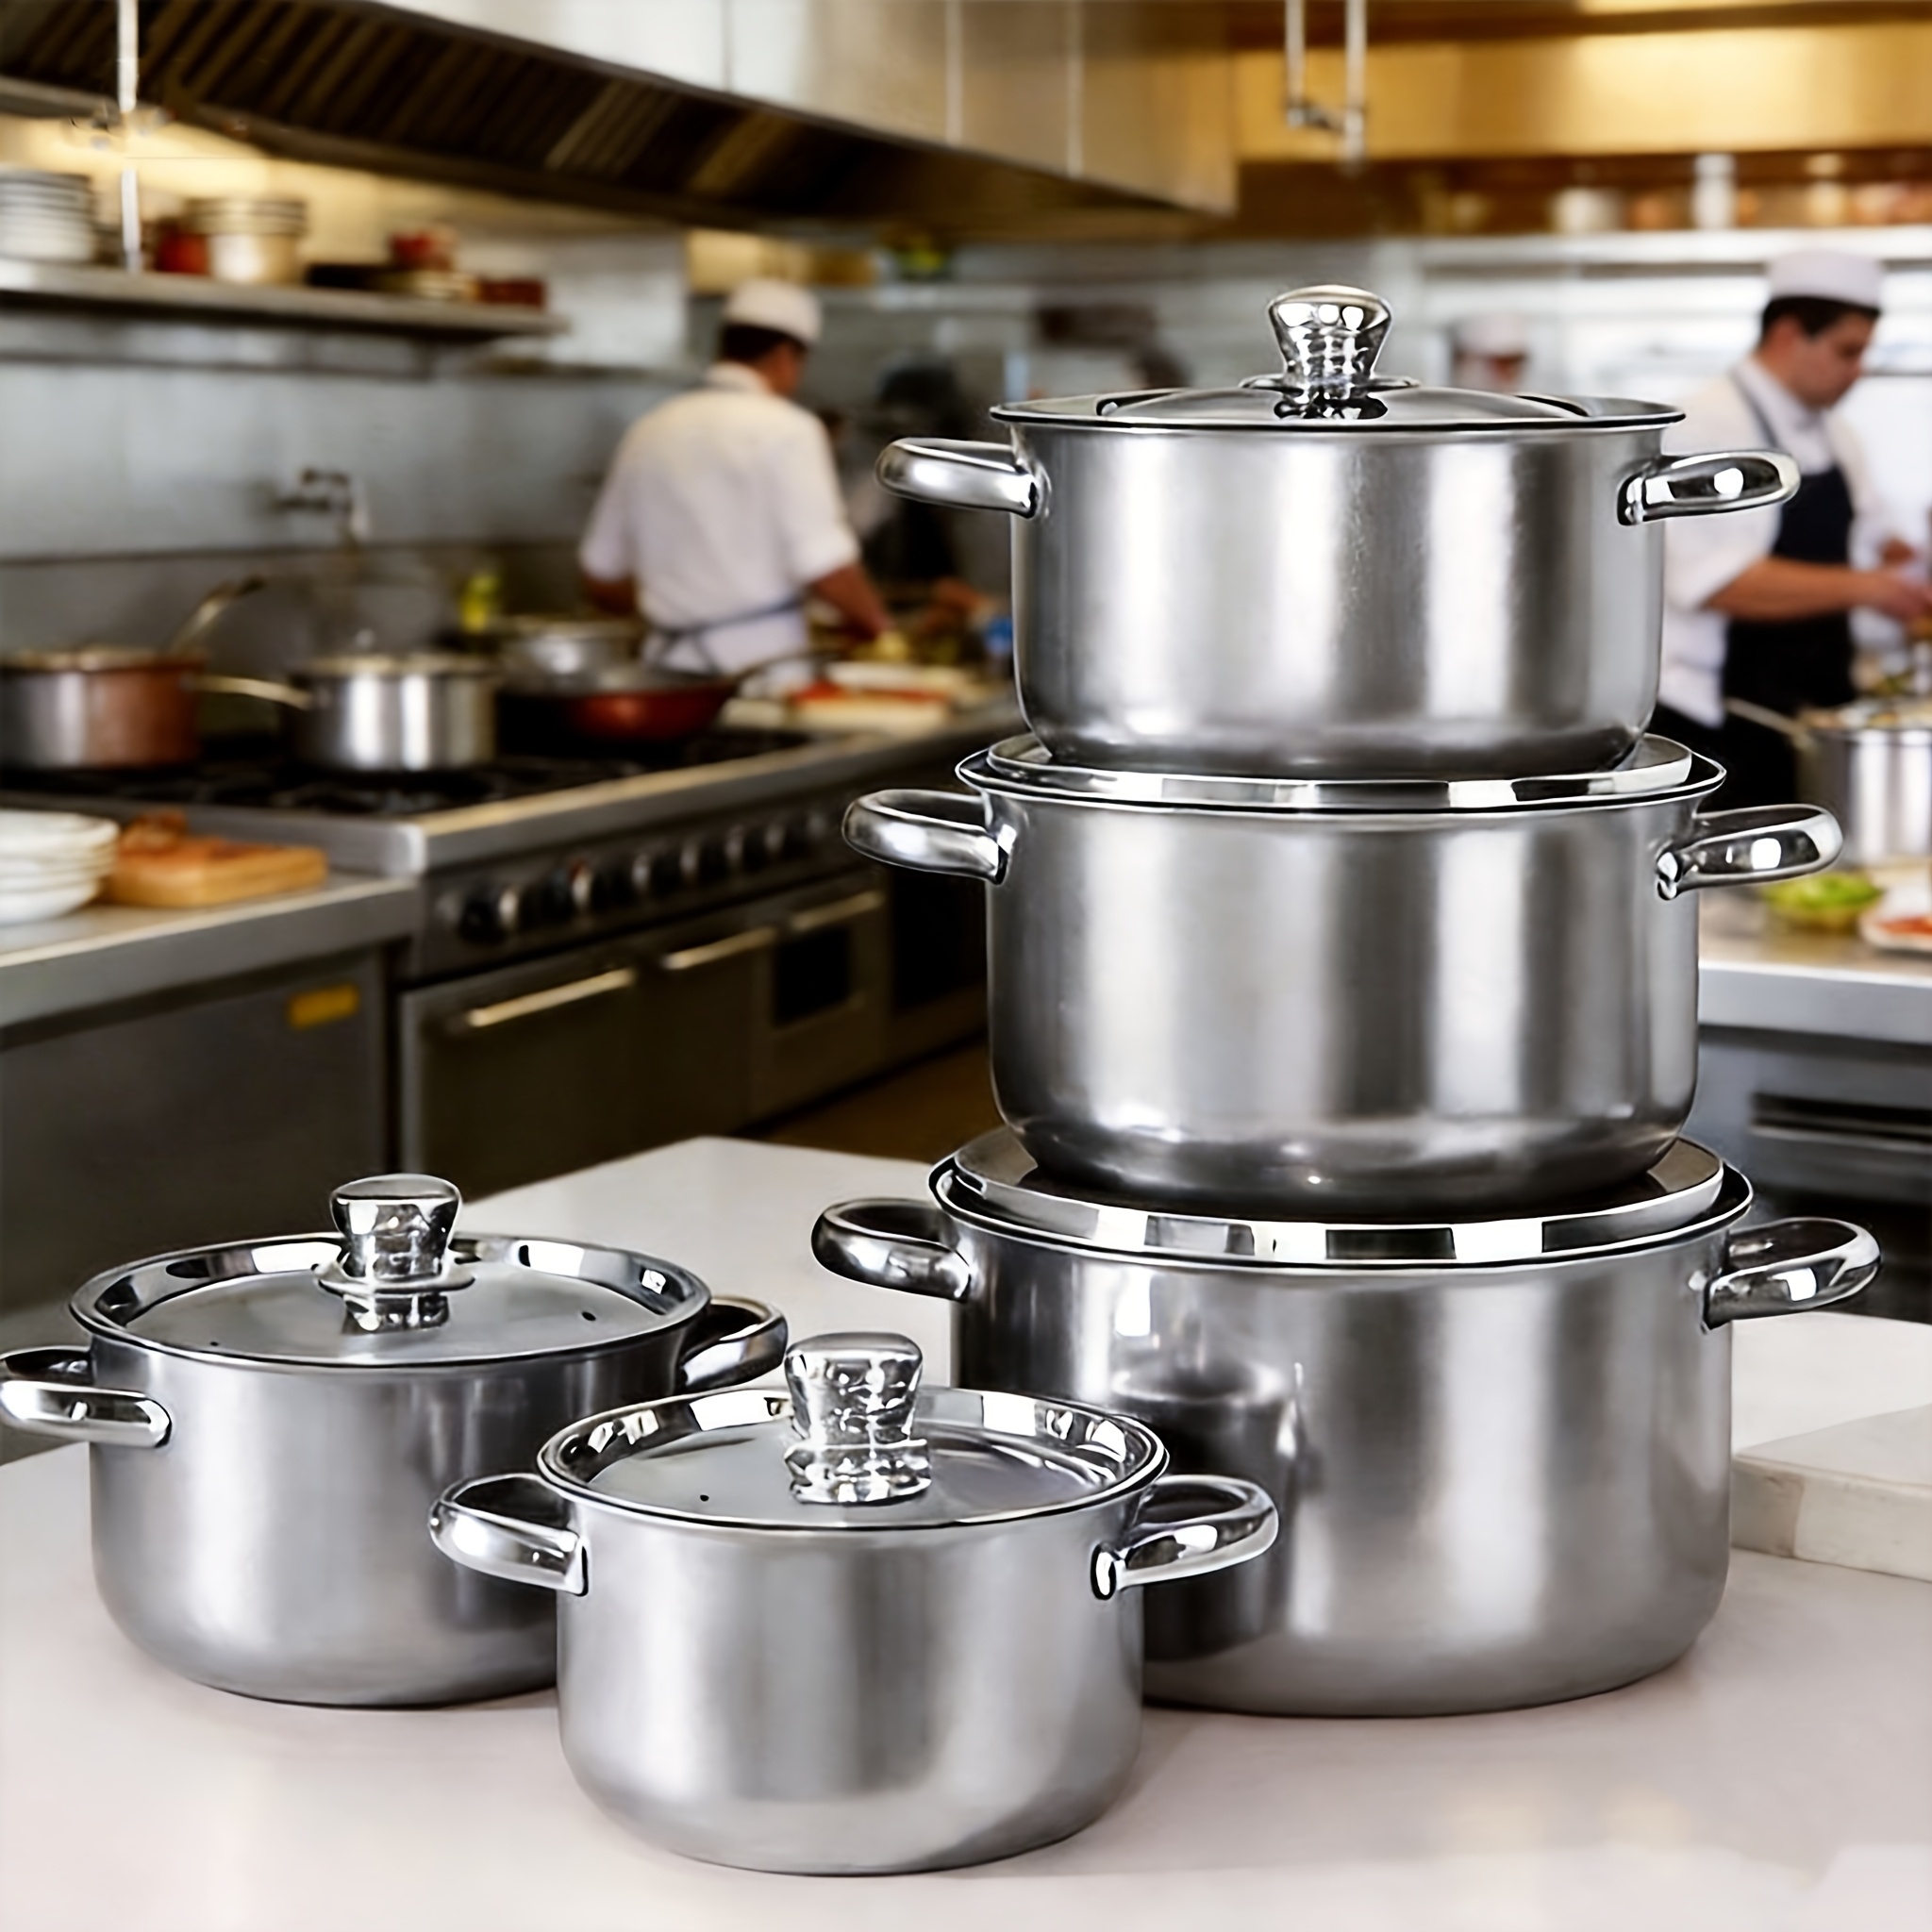
These handy little gadgets make cooking easier — and they're actually pretty cool.


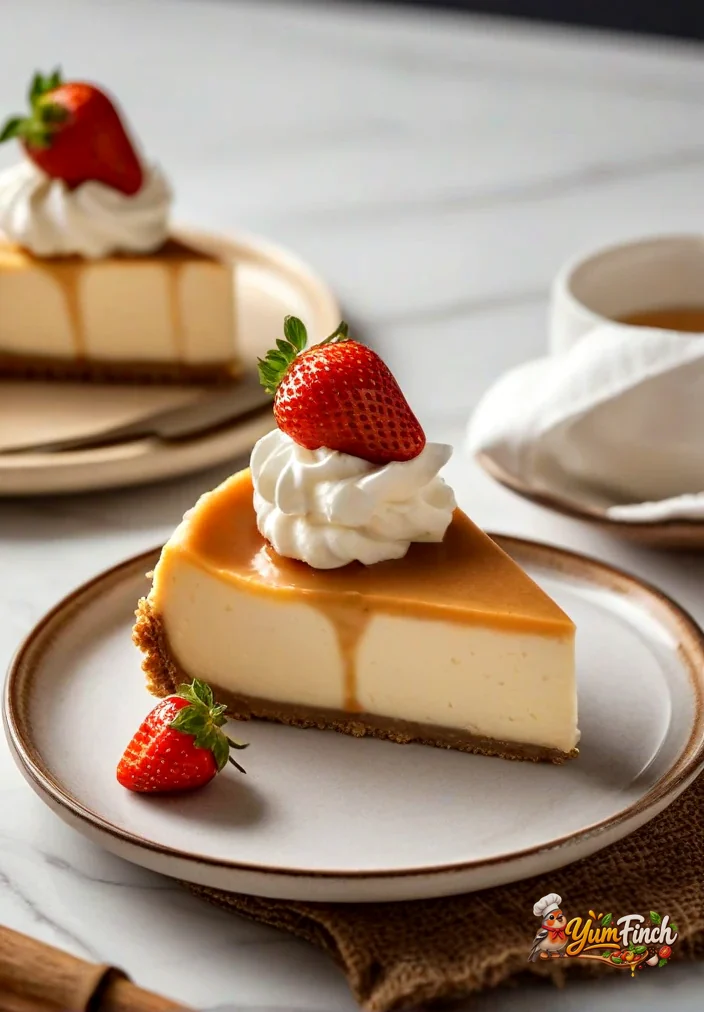
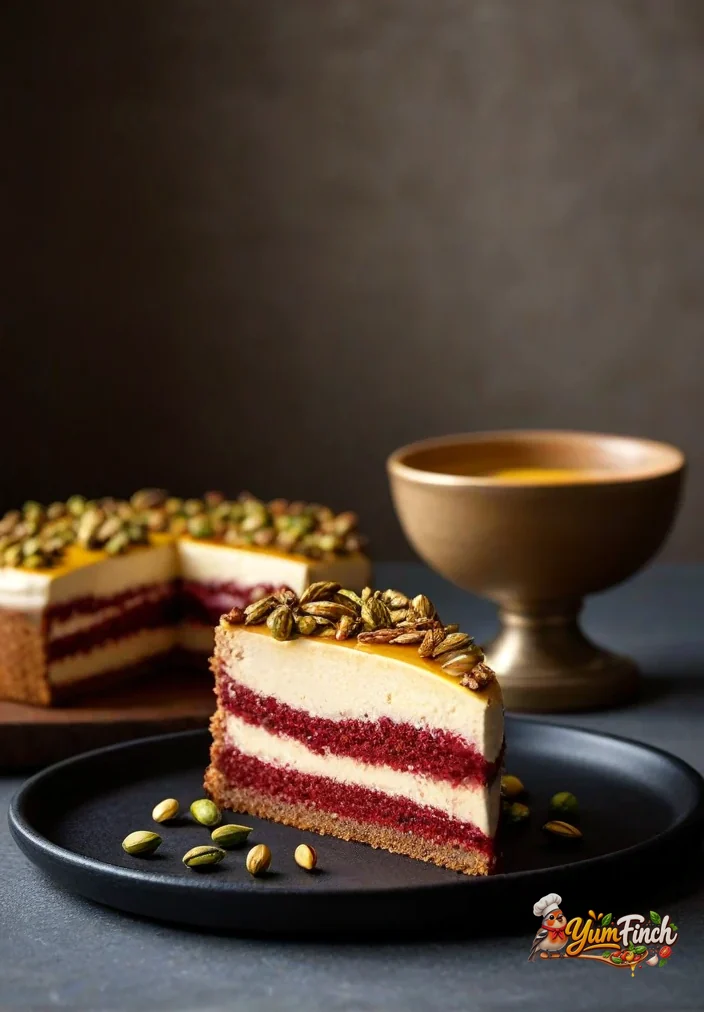
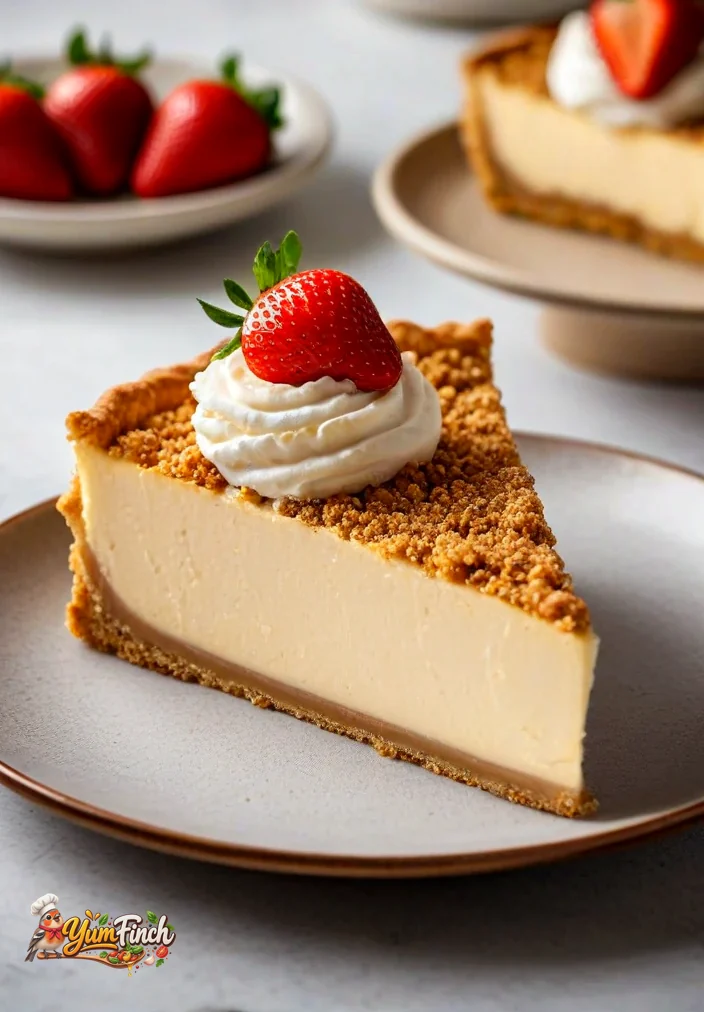
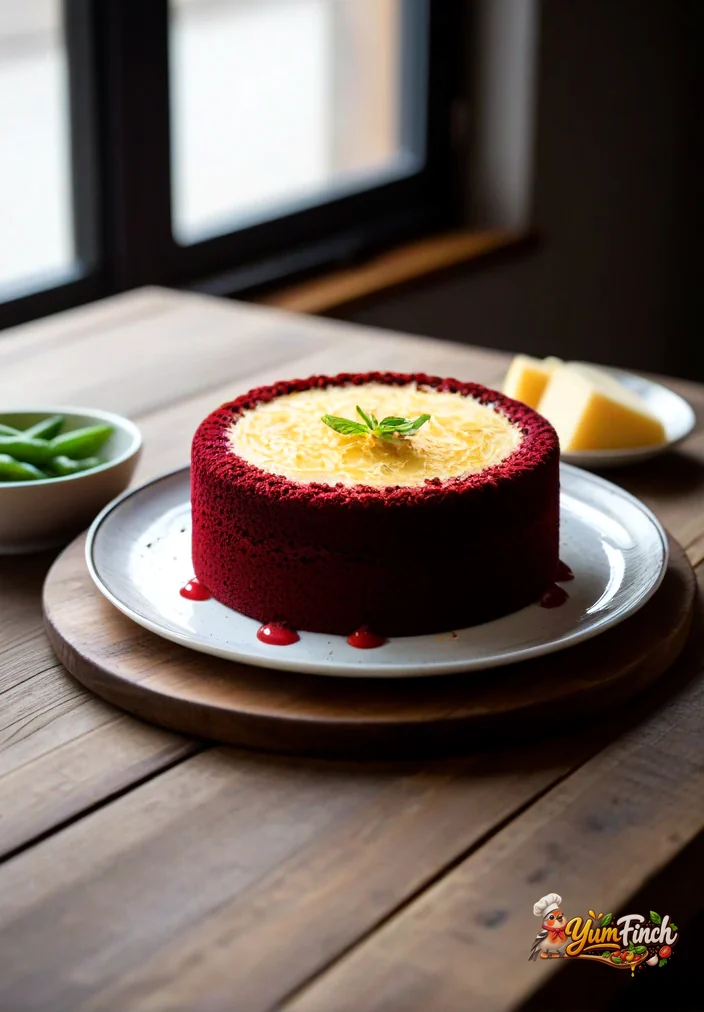
Indulge in the rich and velvety goodness of this decadent red velvet cheesecake recipe, perfect for any celebration. With its striking red hue and creamy cheesecake layer, this dessert is a showstopper that combines the classic flavors of red velvet with the smoothness of cheesecake. Whether it’s a birthday, anniversary, or holiday gathering, this cheesecake will delight your guests and make any occasion feel extra special.
Why You’ll Love This Recipe
This red velvet cheesecake is not only visually stunning but also offers a delightful combination of flavors and textures. The moist red velvet base pairs beautifully with the rich cheesecake topping, making every bite a delicious treat. Here are a few reasons to love this recipe:
- Stunning Presentation: The vibrant red and creamy layers create an eye-catching dessert.
- Decadent Flavor: The combination of red velvet and cheesecake is simply irresistible.
- Perfect for Celebrations: Ideal for birthdays, weddings, and special gatherings.
- Easy to Make: Step-by-step instructions ensure success every time.
Ingredients
- 1 ½ cups all-purpose flour
- 1 cup granulated sugar
- 1 teaspoon baking soda
- 1 teaspoon cocoa powder
- ½ teaspoon salt
- 1 cup vegetable oil
- 1 cup buttermilk, room temperature
- 2 large eggs, room temperature
- 2 tablespoons red food coloring
- 1 teaspoon vanilla extract
- 8 ounces cream cheese, softened
- ½ cup powdered sugar
- 1 teaspoon vanilla extract (for cheesecake layer)
- 2 large eggs (for cheesecake layer)
- 1 cup sour cream
- Mint leaves for garnish (optional)
How to Make Red Velvet Cheesecake
- Preheat your oven to 350°F (175°C). Grease and flour a 9-inch springform pan.
- In a large mixing bowl, whisk together the flour, granulated sugar, baking soda, cocoa powder, and salt.
- In another bowl, mix the vegetable oil, buttermilk, eggs, red food coloring, and vanilla extract until well combined.
- Gradually add the wet ingredients to the dry ingredients, mixing until just combined. Do not overmix.
- Pour the red velvet batter into the prepared springform pan and smooth the top. Bake for 25-30 minutes, or until a toothpick inserted into the center comes out clean. Let it cool completely in the pan.
- While the cake is cooling, prepare the cheesecake layer. In a large bowl, beat the softened cream cheese until smooth. Gradually add the powdered sugar and mix until well combined.
- Add the eggs, one at a time, mixing well after each addition. Stir in the sour cream and vanilla extract until smooth.
- Once the red velvet layer is cooled, pour the cheesecake mixture over the top of the cake, spreading it evenly.
- Bake for an additional 50-60 minutes, or until the cheesecake is set but slightly jiggly in the center. Turn off the oven and let the cheesecake cool in the oven with the door slightly ajar for about 1 hour.
- Refrigerate the cheesecake for at least 4 hours or overnight before serving. Garnish with mint leaves if desired.
Tips for the Best Results
- Ensure all ingredients are at room temperature for a smoother batter.
- Use gel food coloring for a more vibrant color without altering the batter’s consistency.
- Allow the cheesecake to cool gradually to prevent cracking.
Easy Variations
- Substitute the sour cream with Greek yogurt for a lighter option.
- Add chocolate chips to the cheesecake layer for an extra indulgent twist.
- Top with a layer of whipped cream or a drizzle of chocolate sauce for added flair.
What to Serve With It
- Fresh berries for a fruity contrast.
- A scoop of vanilla ice cream for a creamy addition.
- A cup of coffee or tea to complement the dessert.
Storage and Reheating
Love Trying New Recipes? Check These Out
Save your favorites, discover something different, or make meal planning a whole lot easier.


Store any leftovers in an airtight container in the refrigerator for up to 5 days. The cheesecake can also be frozen for up to 2 months; just make sure to wrap it tightly in plastic wrap and aluminum foil. Thaw in the refrigerator before serving.
Recipe Card
Prep Time: 30 minutes
Cook Time: 1 hour
Total Time: 1 hour 30 minutes (plus cooling time)
Yield: 12 servings
Ingredients:
1 ½ cups all-purpose flour
1 cup granulated sugar
1 teaspoon baking soda
1 teaspoon cocoa powder
½ teaspoon salt
1 cup vegetable oil
1 cup buttermilk, room temperature
2 large eggs, room temperature
2 tablespoons red food coloring
1 teaspoon vanilla extract
8 ounces cream cheese, softened
½ cup powdered sugar
1 teaspoon vanilla extract (for cheesecake layer)
2 large eggs (for cheesecake layer)
1 cup sour cream
Mint leaves for garnish (optional)
Instructions:
1. Preheat your oven to 350°F (175°C). Grease and flour a 9-inch springform pan.
2. In a large mixing bowl, whisk together the flour, granulated sugar, baking soda, cocoa powder, and salt.
3. In another bowl, mix the vegetable oil, buttermilk, eggs, red food coloring, and vanilla extract until well combined.
4. Gradually add the wet ingredients to the dry ingredients, mixing until just combined. Do not overmix.
5. Pour the red velvet batter into the prepared springform pan and smooth the top. Bake for 25-30 minutes, or until a toothpick inserted into the center comes out clean. Let it cool completely in the pan.
6. While the cake is cooling, prepare the cheesecake layer. In a large bowl, beat the softened cream cheese until smooth. Gradually add the powdered sugar and mix until well combined.
7. Add the eggs, one at a time, mixing well after each addition. Stir in the sour cream and vanilla extract until smooth.
8. Once the red velvet layer is cooled, pour the cheesecake mixture over the top of the cake, spreading it evenly.
9. Bake for an additional 50-60 minutes, or until the cheesecake is set but slightly jiggly in the center. Turn off the oven and let the cheesecake cool in the oven with the door slightly ajar for about 1 hour.
10. Refrigerate the cheesecake for at least 4 hours or overnight before serving. Garnish with mint leaves if desired.
Notes: Ensure all ingredients are at room temperature for the best results.